用 .NET 10 构建首个 MCP Server 并发布至 NuGet 的实践详解
随着生成式 AI 与大模型在企业和开发者圈层的持续升温,如何让 AI 助手安全地访问外部数据源、业务工具与自定义逻辑,成为 AI 平台生态繁荣的关键环节。微软在 .NET 10 中,正式引入了 Model Context Protocol (MCP) 及其配套 Server 开发模板,并原生支持通过 NuGet 进行发现、分发与依赖管理。本文将系统梳理 MCP Server 的核心理念、开发流程与 NuGet 发布全流程,助力 .NET 与 AI 开发者高效落地“AI 能力即组件”模式。
什么是 Model Context Protocol(MCP)?
Model Context Protocol(简称 MCP)是一套开放标准,旨在让 AI 助手(如 Copilot、ChatGPT 等)能够安全地连接外部数据源与工具,包括数据库、API、文件系统甚至自定义业务逻辑。MCP 相当于 AI 模型与真实世界间的桥梁,支持标准化地接入、调用与响应。通过 MCP Server,开发者可以将自己的业务能力(如天气服务、报表生成、自动化运维等)开放为可复用的“工具”,让 AI 助手即时获得“技能加成”。
NuGet 与 .NET MCP Server 的深度集成
.NET 10 全面支持 MCP Server 组件化,并通过 NuGet.org 作为分发和发现平台,带来如下核心价值:
- 可发现性:开发者可通过 NuGet 搜索 MCP Server,直接集成业界优秀能力。
- 版本管理:依托 NuGet 生态,支持标准化的语义化版本与依赖管理。
- 便捷安装:Visual Studio/VS Code 等主流 IDE 支持一键配置和集成 MCP Server。
- 社区共建:助力 AI 能力共享,推动 .NET AI 生态多样化、专业化发展。
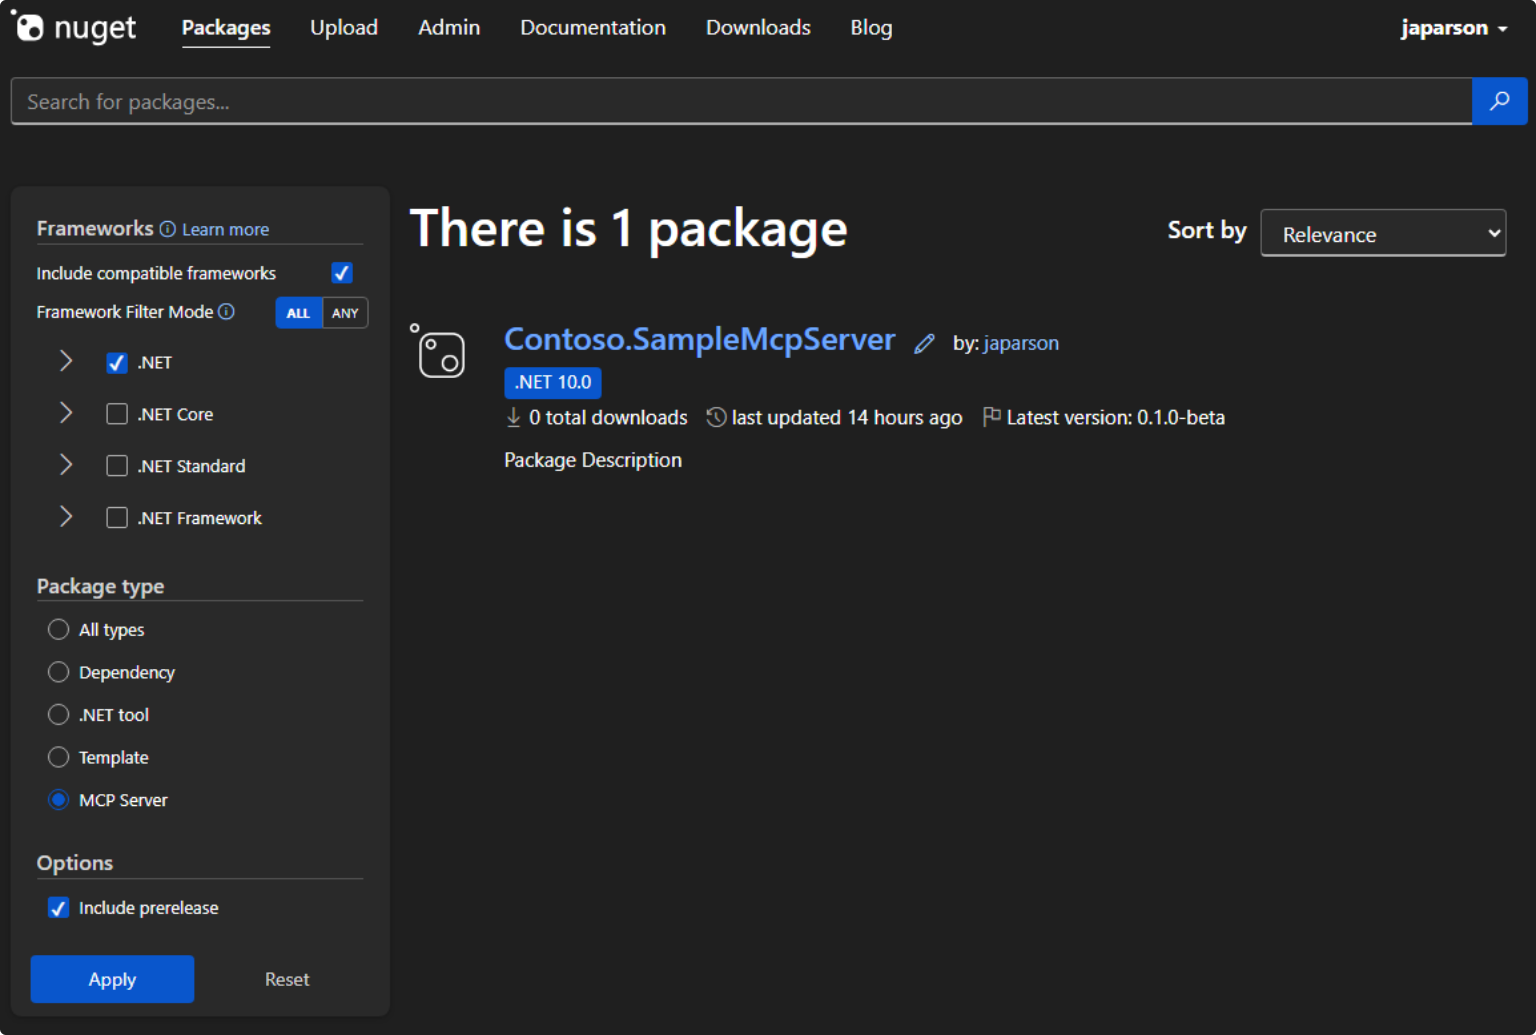
NuGet.org 现已开放 MCP Server package type 筛选入口,欢迎大家探索与贡献。
快速实践:构建与发布你的第一个 MCP Server
接下来,我们通过一个典型示例,带你从零实践 MCP Server 的开发、测试与发布全流程。
环境准备
确保具备如下环境:
- .NET 10.0 SDK(建议预览版 6 或以上)
- Visual Studio Code
- GitHub Copilot 扩展
- NuGet.org 账号
步骤一:安装 MCP Server 模板
在命令行运行如下命令,获取最新版模板:
dotnet new install Microsoft.Extensions.AI.Templates步骤二:创建你的 MCP Server 项目
通过模板快速创建项目:
dotnet new mcpserver -n SampleMcpServer
cd SampleMcpServer
dotnet build
初始模板自带一个 get_random_number 工具,运行即用。我们进一步扩展,新增一个天气查询功能。
步骤三:添加自定义 Tool 与配置
在 Tools 目录下新建 WeatherTools.cs,实现如下:
[McpServerTool]
[Description("Describes random weather in the provided city.")]
public string GetCityWeather(
    [Description("Name of the city to return weather for")] string city)
{
    var weather = Environment.GetEnvironmentVariable("WEATHER_CHOICES");
    if (string.IsNullOrWhiteSpace(weather))
    {
        weather = "balmy,rainy,stormy";
    }
    var weatherChoices = weather.Split(",");
    var selectedWeatherIndex =  Random.Shared.Next(0, weatherChoices.Length);
    return $"The weather in {city} is {weatherChoices[selectedWeatherIndex]}.";
}
随后在 Program.cs 中注册:
.WithTools<WeatherTools>()这个 Tool 展示了如何通过环境变量动态配置、响应 AI 助手的输入参数,实现灵活的业务接入能力。
步骤四:本地测试 MCP Server
在 .vscode 目录下创建 mcp.json,并配置环境变量:
{
"servers": {
"SampleMcpServer": {
"type": "stdio",
"command": "dotnet",
"args": ["run", "--project", "."],
"env": {
"WEATHER_CHOICES": "sunny,humid,freezing,perfect"
}
}
}
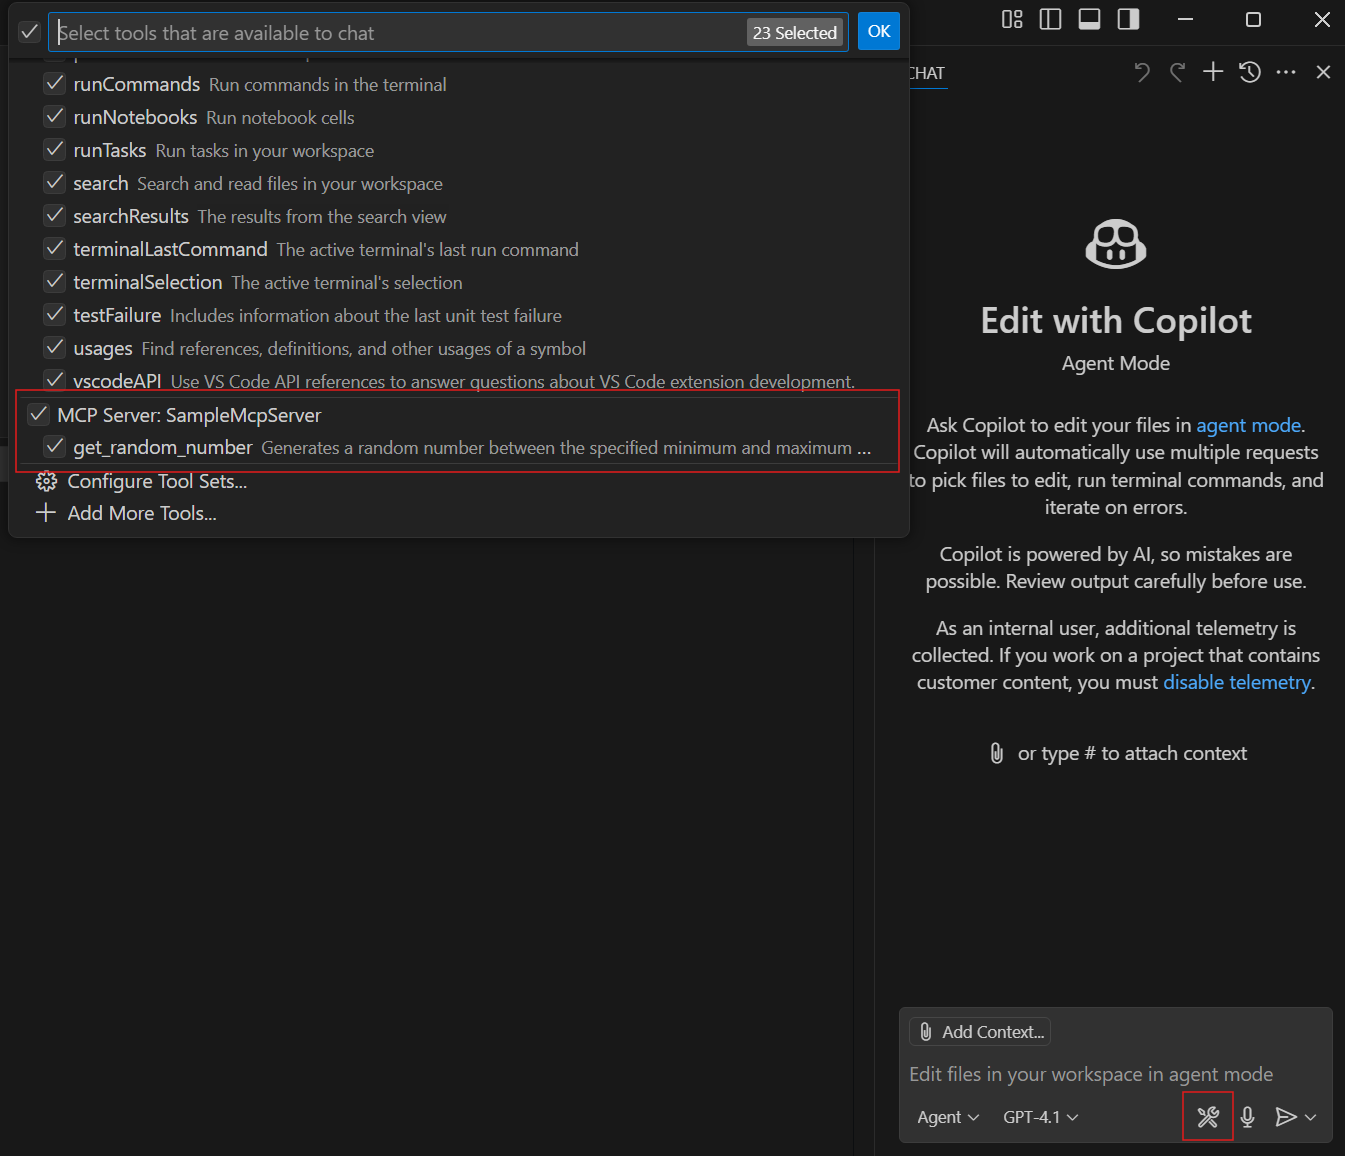
}在 Copilot 内即可实时体验:“What’s the weather in Seattle?”、“Give me a random number between 1 and 100”等 prompt。
步骤五:为 NuGet 发布做准备
- 配置
.mcp/server.json,声明元数据和环境变量:
{
  "description": "A sample MCP server with weather and random number tools",
  "name": "io.github.yourusername/SampleMcpServer",
  "packages": [
    {
      "registry_name": "nuget",
      "name": "YourUsername.SampleMcpServer",
      "version": "1.0.0",
      "package_arguments": [],
      "environment_variables": [
        {
          "name": "WEATHER_CHOICES",
          "description": "Comma separated list of weather descriptions",
          "is_required": true,
          "is_secret": false
        }
      ]
    }
  ],
  "repository": {
    "url": "https://github.com/yourusername/SampleMcpServer",
    "source": "github"
  },
  "version_detail": {
    "version": "1.0.0"
  }
}- 在
.csproj文件中配置唯一<PackageId>:
<PackageId>YourUsername.SampleMcpServer</PackageId>步骤六:打包与发布至 NuGet
执行以下命令打包:
dotnet pack -c Release再上传至 NuGet:
dotnet nuget push bin/Release/*.nupkg --api-key <your-api-key> --source https://api.nuget.org/v3/index.json提示:可先在 int.nugettest.org 测试再正式发布。
发布后,其他开发者可在 NuGet.org 搜索 mcpserver 类型包,直接发现和集成你的 MCP Server。
MCP Server 的企业级场景与展望
基于 MCP,AI 能力的扩展不再局限于单一模型或平台,而是像 npm、NuGet 组件一样标准化、即插即用。你可以构建:
- 企业级数据库网关(安全暴露 SQL/Postgres/Mongo 查询等)
- 云 API 编排器(统一封装 Azure/AWS/Google 云服务)
- 文档智能中心(PDF/OCR/内容抽取/智能检索)
- DevOps 自动化中枢(流水线、代码仓库、部署一体化)
- 数据分析引擎(自定义报表与数据可视化)
MCP + NuGet 构成了开放、可成长的 AI 能力市场,促进企业、开发者、社区三方共赢。